How to Run DeepSeek R1 Locally on macOS

Running DeepSeek R1 locally on your Mac is a great way to maintain privacy while using AI. This guide walks you through the steps to set it up using Ollama and optionally configure it with Chatbox for a user-friendly experience.
Step 1: Install Ollama
Ollama allows you to run AI models locally. To install it:
Open Terminal.
If you have Homebrew, run:
brew install ollama
If you don’t have Homebrew, download Ollama from their website.
Step 2: Download the DeepSeek R1 Model
Once Ollama is installed, pull the DeepSeek R1 model:
ollama pull deepseek-r1
If you prefer a smaller version (which uses less memory), pull the 8B variant:
ollama pull deepseek-r1:8b
Step 3: Start the Ollama Server
To activate the AI model, start the Ollama server:
ollama serve
This command keeps the model running and ready for use.
Step 4: Run DeepSeek R1
To interact with the model, use:
ollama run deepseek-r1
For the 8B model, run:
ollama run deepseek-r1:8b
You can also provide a prompt directly:
ollama run deepseek-r1 "Explain the Rust programming language in simple terms."
Optional Step: Use Chatbox for a Better UI
If you prefer a chat-style interface similar to DeepSeek’s web experience, you can set up Chatbox.
Step 5: Install Chatbox
Download Chatbox from chatboxai.app.
Install and open the app.
Step 6: Configure Chatbox to Use DeepSeek Locally
Open Chatbox and go to Settings.
Set the Model Provider to Ollama.
Change the API Host to:
http://127.0.0.1:11434
Save your settings.
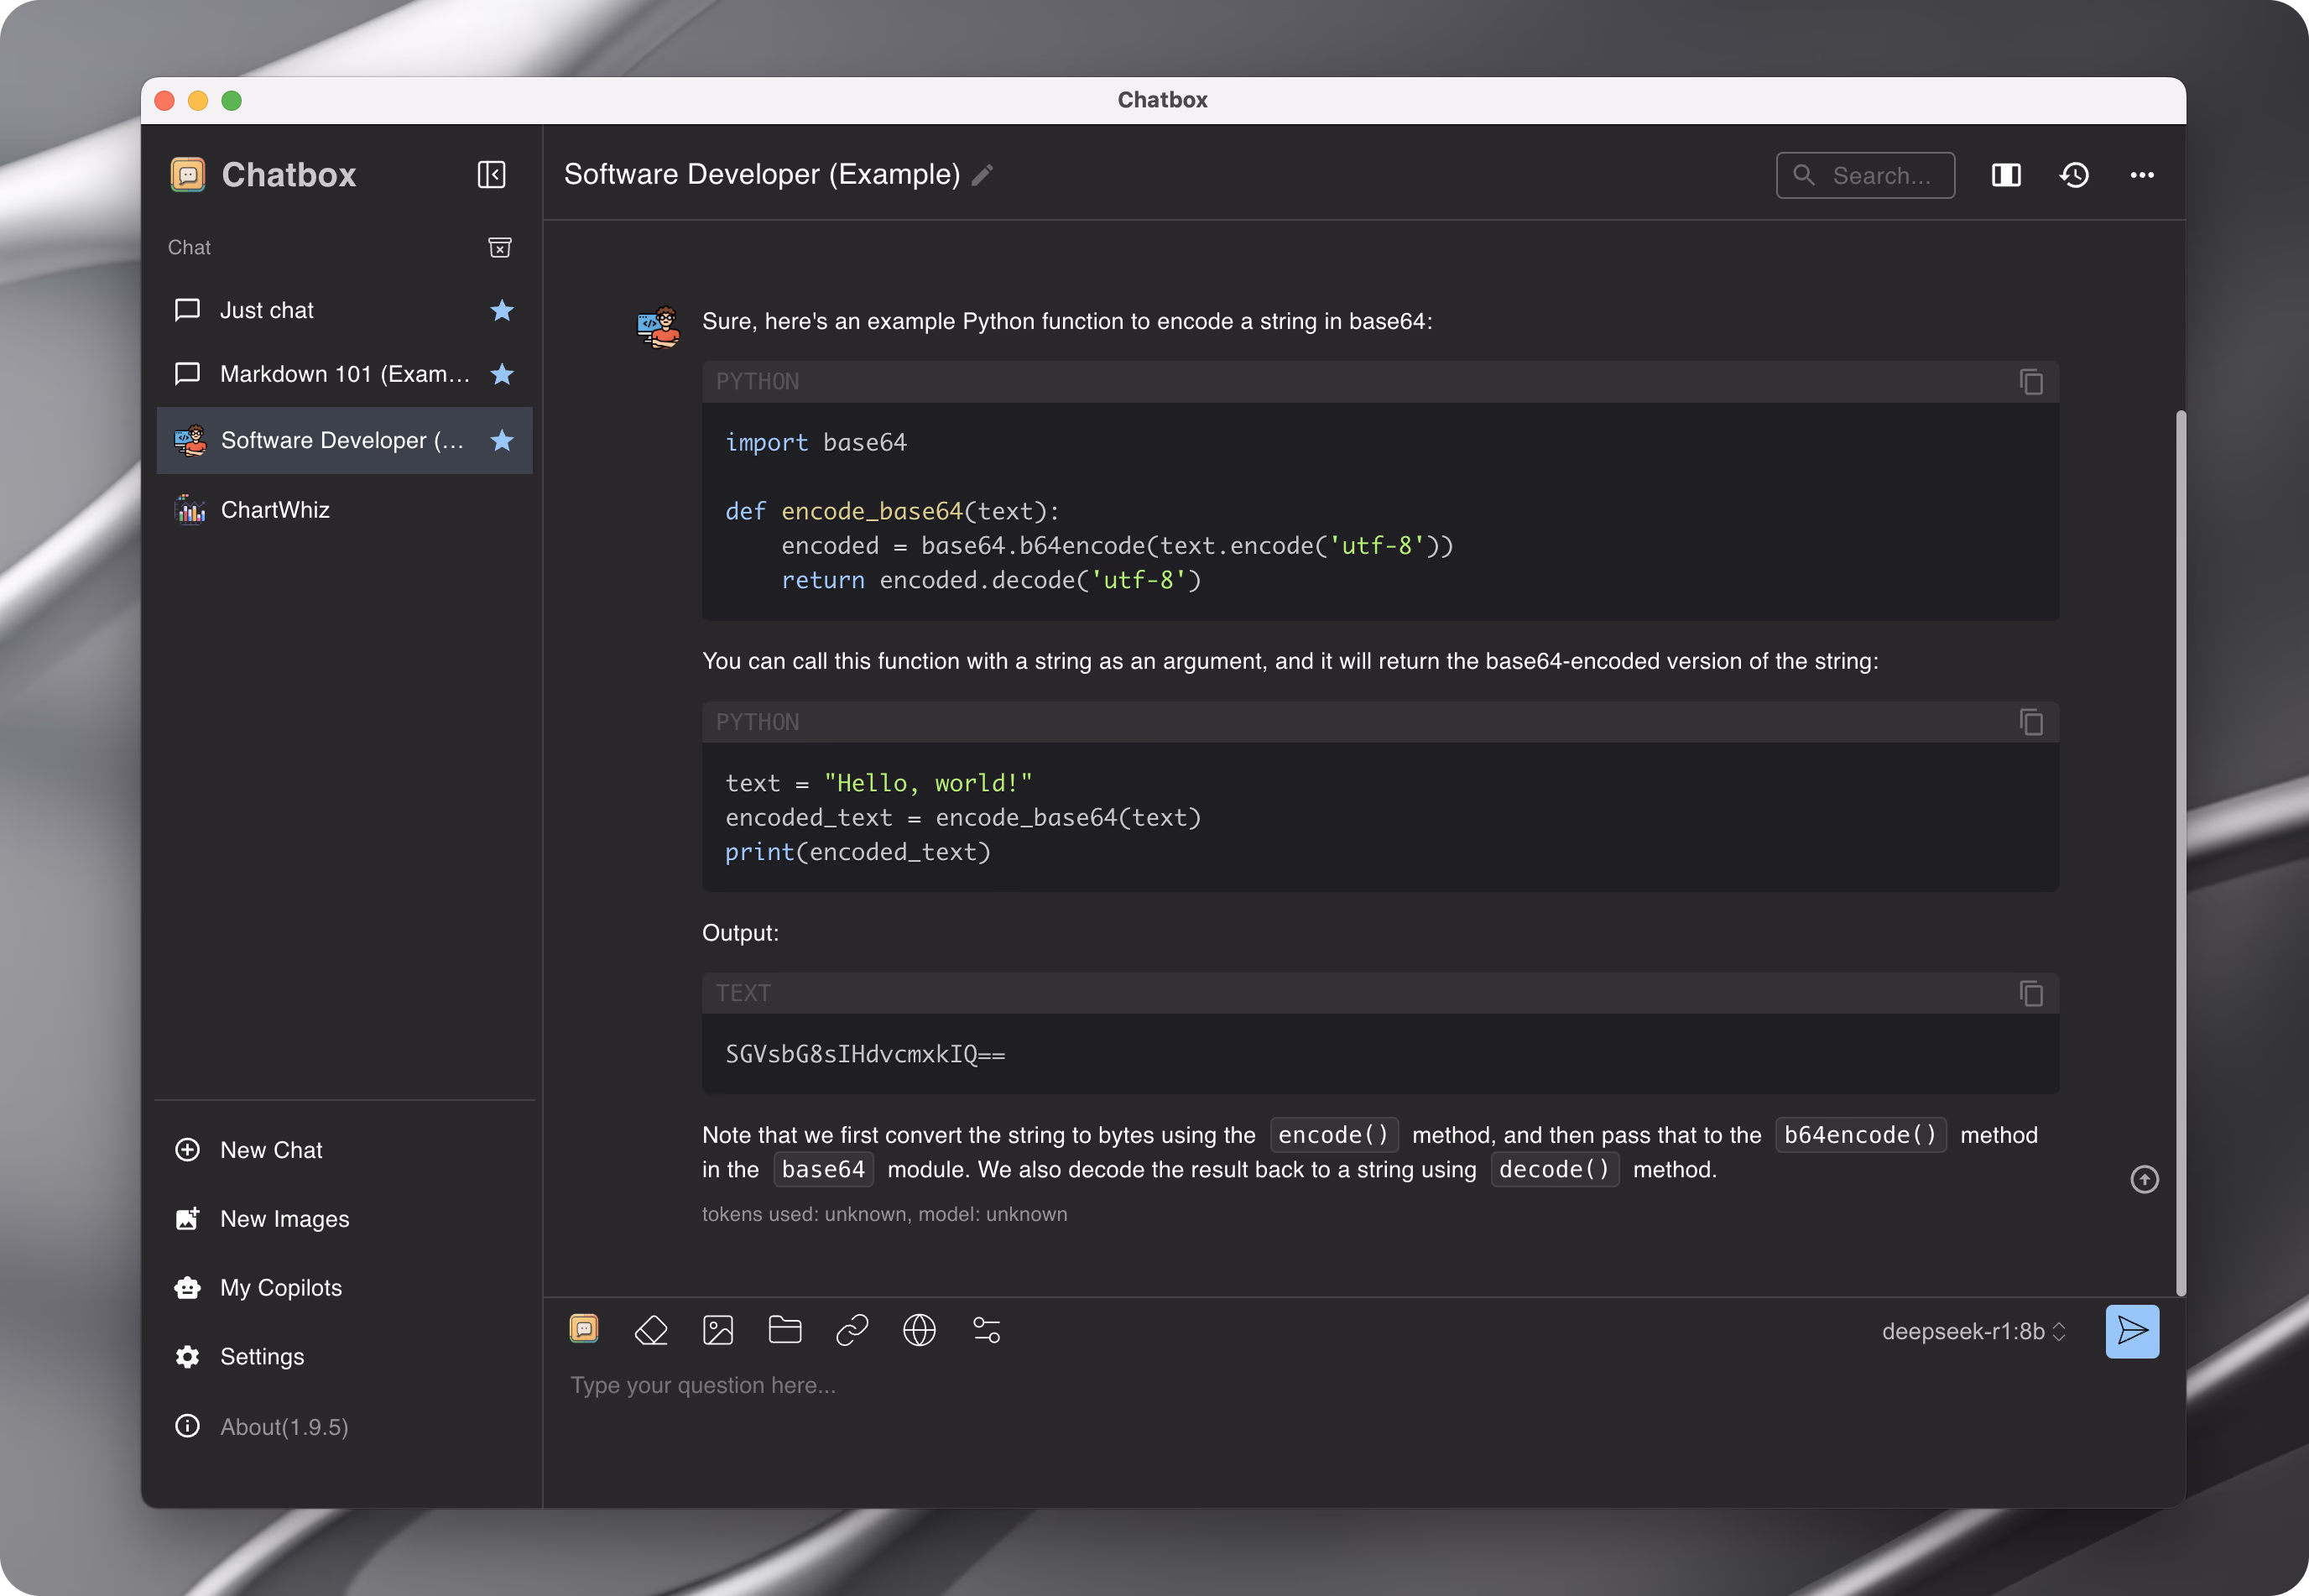
Now, you can chat with DeepSeek R1 inside Chatbox!
By following these steps, you’ll have DeepSeek R1 running locally on macOS with the same user experience as the in-browser chat, but with more privacy and control.
Now you’re all set to use DeepSeek R1 offline, with no cloud dependency. 🚀